Home ♥ ♥ Facebook

Friday, December 9, 2011

AWESOME GIVEAWAY!!!!

Check out this super fantastic giveaway on this blog!

Giveaway!

Good luck!!!!! ♥

Tuesday, November 15, 2011

Mini TP Roll Tutorial


Hi all,


I've had a couple requests for a tutorial on how to make a mini album using recycled toilet paper rolls. Being a teacher, I tend to have lots of these rolls available to use in my classroom for the kids to use in the art area. But one day someone gave me the idea to use the tp rolls as books and I have been doing it ever since!


Okay so to start you need tp rolls. I use five when making a mini album. First, flatten the rolls. Get them as flat as you possibly can. I put a few in between my husband's weights. 
4 x 2 1/4
Most tp rolls are 4 x 2 1/4 when flattened. However there are some that are slightly larger. So measure it when it's flat so you know how large to cut your paper to put onto it. Do not cut the tp roll. You are going to use it as a pocket to hold your tags. :)


Next, take a 12 x 12 piece of paper and score it slightly more than  the size of the roll because you want to wrap the paper around the roll. Score So if the roll is 4 inches by 2 1/4 inches, score the paper at 4 1/4 by 2 1/2 inches. 


Use an ATG to adhere the paper to the roll. Cut off any excess paper. Then using your Big Bite, punch a hole in one end. 


I like to use eyelets so when I thread the ribbon through, the pages will be held together nicer. I use the 3/16 eyelets. Again, use your Big Bite to set the eyelet. 


Finally, make a tag that is approximately 3 3/4 X 2. These measurements are approximate because it depends upon the size of the tp roll that is used when flattened. You will actually make the tags just slightly longer but do NOT make the tag 4 x 2 1/4 because the tag will not be able to slide in and out as you need it. Punch a hole in one end of the tag and thread some ribbon through. 


Then add embellishments (e.g. ribbon, ink), journal notes and mini photos. This is a great to give as a gift especially with the holidays rolling around. 

That is the end of my tutorial! If there is anything that is unclear, please let me know and I will do my best to clarify the instructions.

Good luck and Happy Crafting! ♥

Saturday, November 12, 2011

Rock the Block Promotion - Close to My Heart

Here is the brand new campaign from Close to My Heart! This is really nice! You purchase this set during the month of December. But I wanted to give you sneak peek on how you can get it!


Friday, November 11, 2011

Simple Birthday Card - Close to My Heart Roxie paper set

Hi all,


I have been busy taking care of custom orders for cards for some customers. In the mean time, I have been working on some projects as well!


This first one is a birthday card using the roxie paper set. The butterflies are cut using the Art Philosophy cartridge. The Happy Birthday stamp comes from one of the THREE stamp sets included with the cricut cartridge. I inked the edges using the CTMH ink in tulip.


This photo is a frame I made using the new Holiday Wishes Stamp Set. All of the shapes were cut using the Art Philosophy cartridge. I used some glitter to add a little bling and inked the white edges with the CTMH ink in tulip.


The Art Philosophy cartridge is VERY versatile. It has over 700 images to choose from! I absolutely LOVE this cartridge! If you wold like to own one to create your own one of a kind creations, check out my website Tiffany's Close to My Heart. Don't forget to check out the 'While Supplies Last' section for DEEPLY DISCOUNTED products! 

Saturday, November 5, 2011

Winter cards - Close to My Heart - Art Philosophy

Hi all,


I've been just a little busy. It's that time of year when we have to starting getting progress reports ready for parent/teacher conference next month. It's always interesting, especially the first one! :)


Anyway, I have been playing with my Art Philosophy cartridge and my Close to My Heart stamp sets! I love how the stamps coordinate so perfectly with the cartridge! It's a win-win situation with stampers and die cutters!


Here are two of my latest cards...

 
The first card has the card & tree cut using the AP cartridge. The stamping on the tree is from the newest stamp set from Close to My Heart called Holiday Wishes! Don't you just love that design?
The second card and snowflakes are also cut using the AP cartridge. The sled is stamped from the Winter stamp set.

If you would like step by step instructions, please feel free to contact me for detailed info! If you would like to purchase any of these beautiful stamp sets or the Cricut Art Philosophy cartridge/stamp bundle, go to my website Close to My Heart to order it today! You are going to love it!!!!!!


Wednesday, November 2, 2011

Holiday Card - Close to My Heart - Art Philosophy

I am totally loving my new Art Philosophy cartridge!!!! I haven't put it away since I first received it! Here is a simple holiday card I made using the cartridge and matching stamp set.


The card was cut out at 6". The tree was cut out at 3 1/4 to coordinate with the matching stamp that comes with this collection. The ribbon is from my stash. This card took me less than twenty minutes to make! If you want to make this very easy holiday card, you can visit my site at Tiffany's CTMH to order this fabulous cartridge and stamp bundle!

Tuesday, November 1, 2011

Happy Holiday Card Set: Project Inspiration Autumn/Winter 2011 Idea Book Close to My Heart

I love the look of these cards! This is great info for all you card makers out there (even for me)!


If you want to purchase the Cricut Art Philosophy cartridge and stamp set, visit my website at Close to My Heart or click on the link that says "Shop with Me". Also don't forget to stop by the "While Supplies Last" section to get items that are up to 67% off the retail price!

Sunday, October 30, 2011

Mini Album - Roxie Paper - Close to My Heart

Hi everyone!

I haven't posted any new projects in a couple days because I have been slightly busy. I've been working on custom orders. I've also been working on a couple projects and trying to keep up assessments of my students.

I took some time to make an album to show you how beautiful the paper is from CTMH. It's fantastic. The card stock is very strong, and the paper has the weight of light card stock. The colors are simply amazing. If you want to order some, visit my website CTMH 


The paper I used came from the Roxie set - tulip, desert sand, and the B/T double sided paper.
I cut the paper to make a pocket and sealed the edges except for the top.I used the excess paper to use as the tags for the pockets. The "tags" are approximately 3 x 4.  I inked the edges of the patterned paper with tulip ink from CTMH. I punched a hole at the top of the tags and used ribbon I had on hand from Michael's. 


Using the Art Philosophy cartridge, I cut out three flowers at 1 3/4 inches (fleur de lis image + font & shift button). I also inked the edges to make the flowers a little darker. I cut a border at 1 inch (rectangle #4 image) and adhered it to the darker pockets. On the back of each "tag" I stamped a journal note and on the front cover of the album I used the Instant Memories stamp set.

This album came out quite nice! I have some photos of when I was a little girl all ready to go on the tags. The can be used as a gift for all sorts of occasions! If you want to recreate this beautifully simple album, go to my website CTMH to buy your set of stamps & paper today!

Wednesday, October 26, 2011

Art Philosophy Cricut® Collection


♥ ♥ ♥  Check out this video! Look at all the amazing items that you can create using the Cricut Art Philosophy cartridge!  If you would like to purchase one, please visit my website at  http://tiffanys.myctmh.com to purchase this wonderful cartridge and stamp set!  ♥ ♥  ♥


Sunday, October 23, 2011

♥ Mini Stamp Giveaway! ♥

Hi everyone!

I just want to say thanks to all my followers! I appreciate that you all take the time to check out my posts and make comments.

I am having a giveaway on my Facebook page Tiffany's Handmade Creations. When I reach 100 followers I am giving away two mini stamp sets exclusive to Close to My Heart to two random followers!  If you like stamping when creating as much as I do, you are going to love this! The set contains for mini acrylic stamps (to be used with your acrylic block). They are perfect to stamp on tags for gifts or to put a small sentiment on a card or journal tag. Tell all your crafty friends and don't forget to say who sent you to my page!

Thanks and good luck to everyone! ♥

Buttoned Up Card Set: Autumn/Winter 2011 Book Close to My Heart

Tuesday, October 18, 2011

YAY!!!!!! :)

I am so excited! I participated in the Link Up for Pink event and I won a prize!!!! I am so happy to have been able to participate in such a special event! A big thanks to Yolie, Celeste, & Gabby for putting this whole thing together!!!!


 This was my winning card! 

Thank you again for everything ladies! ♥♥♥

Monday, October 3, 2011

And another, lol!

Here's one more card that I have made for the Link Up for Pink Event!


You probably noticed that I love butterflies! I do. Butterflies are beautiful! I think that it is so amazing that a butterfly just knows from the beginning that's what it is going to be no matter what...

Tag Card Link Up for Pink Event

Here is another card that I made for the Link Up for Pink Event. This card is really easy to make. I took a standard tag and mounted a piece of white cardstock on either side. One side has a pink stamped butterfly, the other side has a stamped pink ribbon. The "envelope" is actually thin cardboard wrapped in printed pink paper. The rosette I made from a very light pink cardstock. I added pink glitter & a button to glitz it up a bit.


I think I will be able to make one more card before I send these off! Thanks for looking and happy crafting! ♥

Saturday, October 1, 2011

Link Up for Pink - "Chick" Card!

 I love this little "Chick" from the Create a Critter Cartridge!

This is my second project for the Link Up for Pink event - a "Chick card"! I am having fun creating these cards for such a wonderful cause! ♥


Link Up for Pink Event!

Hi all!

I previously posted about the Link Up for Pink event. If you are interested in participating, please click the Link Up for Pink badge on the left side of the screen.


Here is one of many cards that I hope to be able to donate!


Link Up for Pink!!!

I am so excited to be able to participate in this wonderful event! You can check out all the details at the link below!

http://www.justyolie.com/2011/10/first-annual-link-up-for-pink.html

As we are all aware that this is breast cancer awareness month, this event serves as a remineder that we must all be vigilante in getting our yearly screenings and doing our monthly self checks!!!!!!

I have a couple cards that are in the works to donate to breast cancer survivors and I will be posting them as the days progress. ♥

Friday, September 23, 2011

Latest cards =)

Well, I have been busy these past few days! I have several orders for cards to keep me busy for the next month, LOL! But I  have to say, I absolutely am honored and blessed to have come in contact with people who enjoy and support my craft. Thank you so much to those of you who have ordered sets of cards from me!!!!! I truly appreciate it! ♥

In the meantime, here are two cards that I created using the Create a Critter cart. :)


This first card was a request for a birthday card. I actually made two of these, but the other one is for a friend's, daughter's birthday, so I can't post that one yet, LOL!


This one I made to celebrate the Autumnal Equinox or rather the first day of Autumn. I think this card is so adorable!! Even my hubby really likes it. Of course he likes everything I make, but this card and another that I had made previously really made him "stick out his chest" so to speak.

This weekend I have to make an autumn banner for my classroom and start working on two of three orders. I am so blessed!!!! Thank you God for all my blessings!

Monday, September 12, 2011

Away for a little bit...

Well, September is here and I returned to work last week. My summer vacation is over... :(

Although summer is drawing to a close, I definitely had some fun! I spent some time bonding with my adorable six year old nephew, I had a visit to Philadelphia, and of course I got my cricut!

My posts will be limited because of work, but I will be posting nonetheless. I did manage to work on a few projects because I acquired a couple cartridges within the last two weeks: Forever Young, Mini Monsters, and Flower Shoppe. I haven't used the Flower Shoppe cart yet, but I have worked on a couple projects using the Mini Monsters and Forever Young cart. I REALLY like the two that I have been using lately. Here are some pics of what I have been working on...


I used these cartridges along with the Wild Card cartridge. I love the simplicity of the cards. My favorite card to date however is my Pumpkin Patch card. I really love the way it looks!


For this card I used the Plantin Schoolbook and Simply Charmed carts. I am so very proud of this card, yet I can't explain why. It's just something about it that makes me happy!
Anyway, time for me to create a quick sample card before I get myself ready for work tomorrow.

Take care and Happy Crafting! ♥


Wednesday, August 31, 2011

New Facebook Page!

I am really proud of the work that I have been creating. So much so that I created a Facebook page to showcase my work. The page is called Handmade Cards by Tiff. You can visit the page here: http://www.facebook.com/pages/Handmade-Cards-by-Tiff/250909008275823. You can like my page for more photos and info. Eventually, I will be using that page to take orders and ocassionally some giveaways! <Like> the page to keep up with new photos, tips and giveaways!

In the meantime, I had a request to make cards for Grandparents day. Here are two cards that I am very happy with!


The first card was made using the Wild Card cartridge and the My Community cartridge. The second card is made using the Wild Card cartridge. I love how both of them turned out, but my favorite is the old couple with the I ♥ u!

I will post more as I make them. I'll be returning to work next week. I will post more school related stuff and tips very soon!

Saturday, August 27, 2011

One more...

Hi all! A couple days ago I posted some cards I made for a project supporting breast cancer. I made one more card using the Wild Card Cartridge (I love this cartridge!) because it is such a wonderful cause! If you would like to make a card and donate it to this wonderful cause, please see my previous post for more details!

BTW, thanks to all who have visited my blog and commenting on my work!


Thursday, August 25, 2011

"Pink" Card Donation Project

One of the blogs I follow is www.mypinkstamper.com. She has a message posted on her blog about a wonderful project for breast cancer survivors. If you wish to donate a card, please visit Robyn's page for more information http://www.mypinkstamper.com/2011/08/card-donations-needed-great-service.html.

Here are the cards that I made!


I will try to make a few more before the cut off date. I think it is a wonderful idea to do something to make someone feel just a little extra special!

Tuesday, August 23, 2011

New toys and more crafting!

Since the last time, I have acquired some tools that I found absolutely necessary to have (although my husband would probably say otherwise, lol).

The first thing is the Scotch ATG. This is an adhesive gun that pretty much has a ton of adhesive tape. It's lightweight and very easy to use. I don't know why I didn't get this sooner! I will say that I had a little trouble loading it in the beginning. I searched youtube for a tutorial and found one demonstrating the proper way to load the adhesive tape (gotta love youtube!). I purchased the pink one because proceeds go to the Susan Komen foundation. So for anyone that wants to purchase one, purchase the pink one!

The next thing is the Crop o Dile Big Bite II. I had a 40% off coupon for Michael's so I used it for the Big Bite. This tool is amazing because it has a six inch reach to punch holes and set eyelets, brads, and gromlets. So far I like this a lot! I only played around with it for a little so I will discuss in detail at a later date if this was worth the purchase.

In the meantime, here are a couple items that I have worked on since my last post.


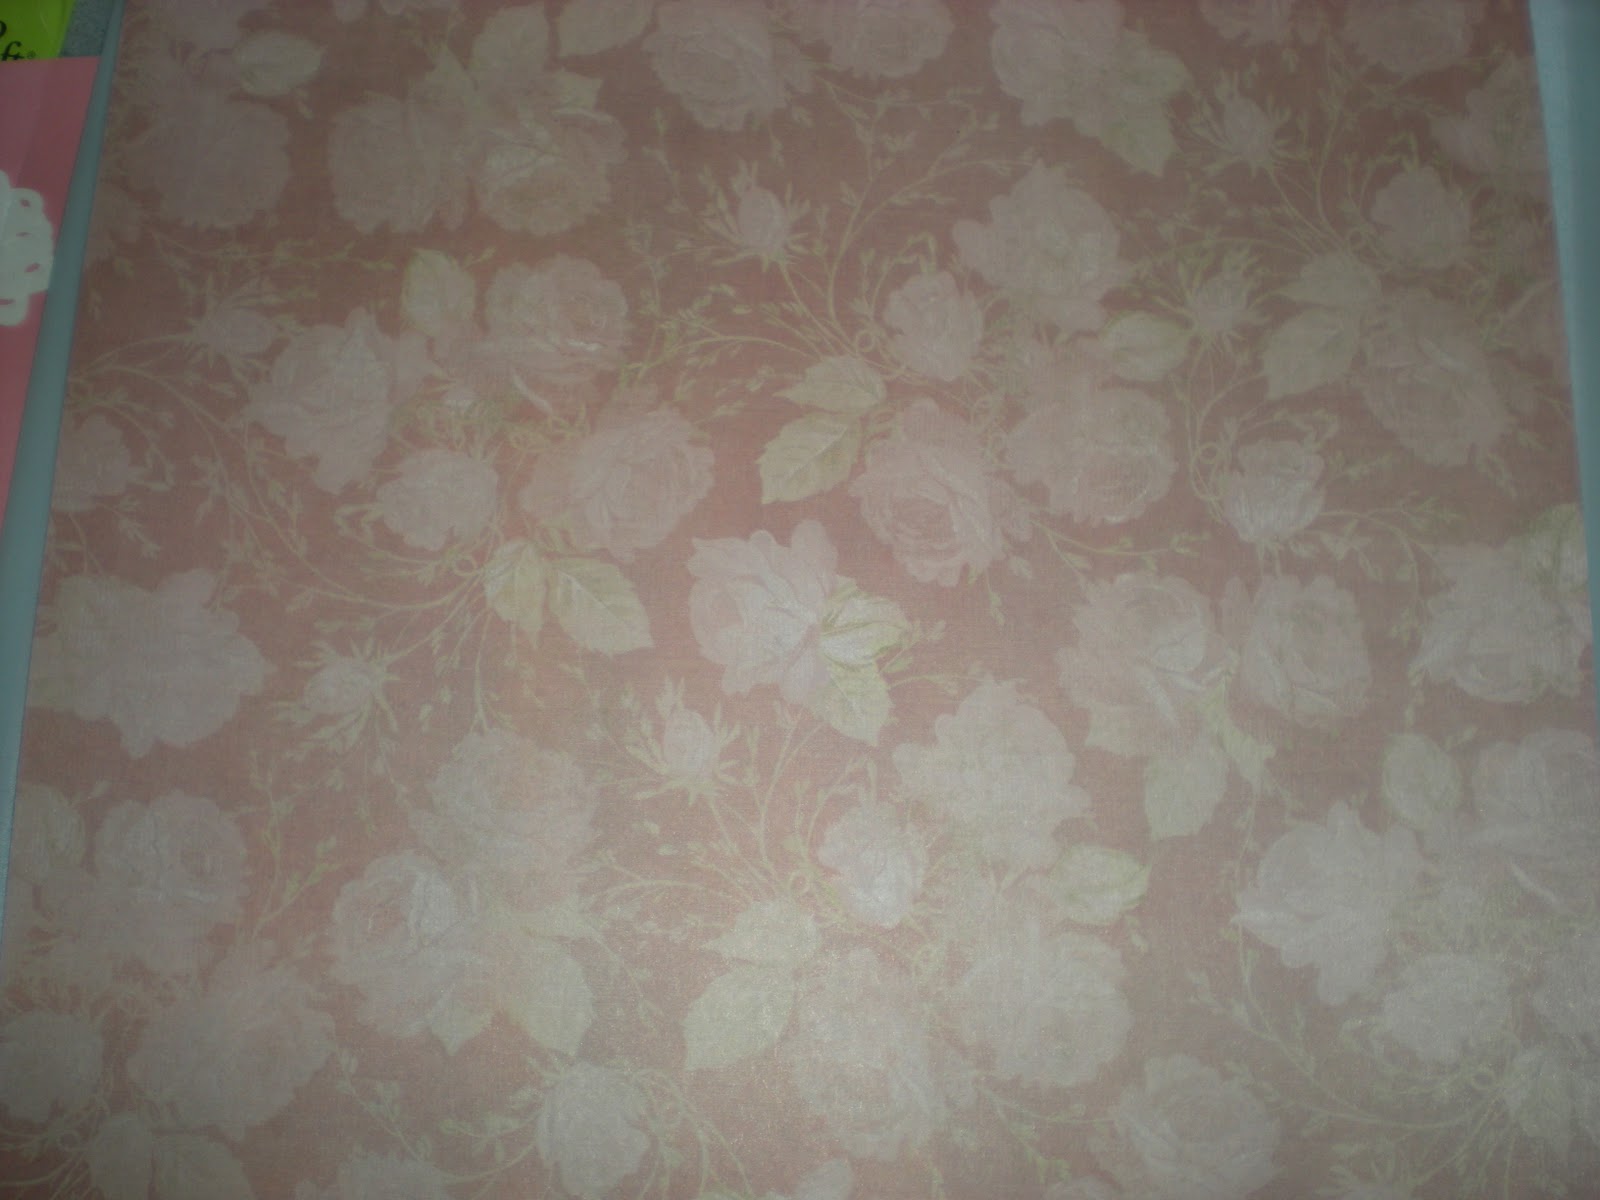
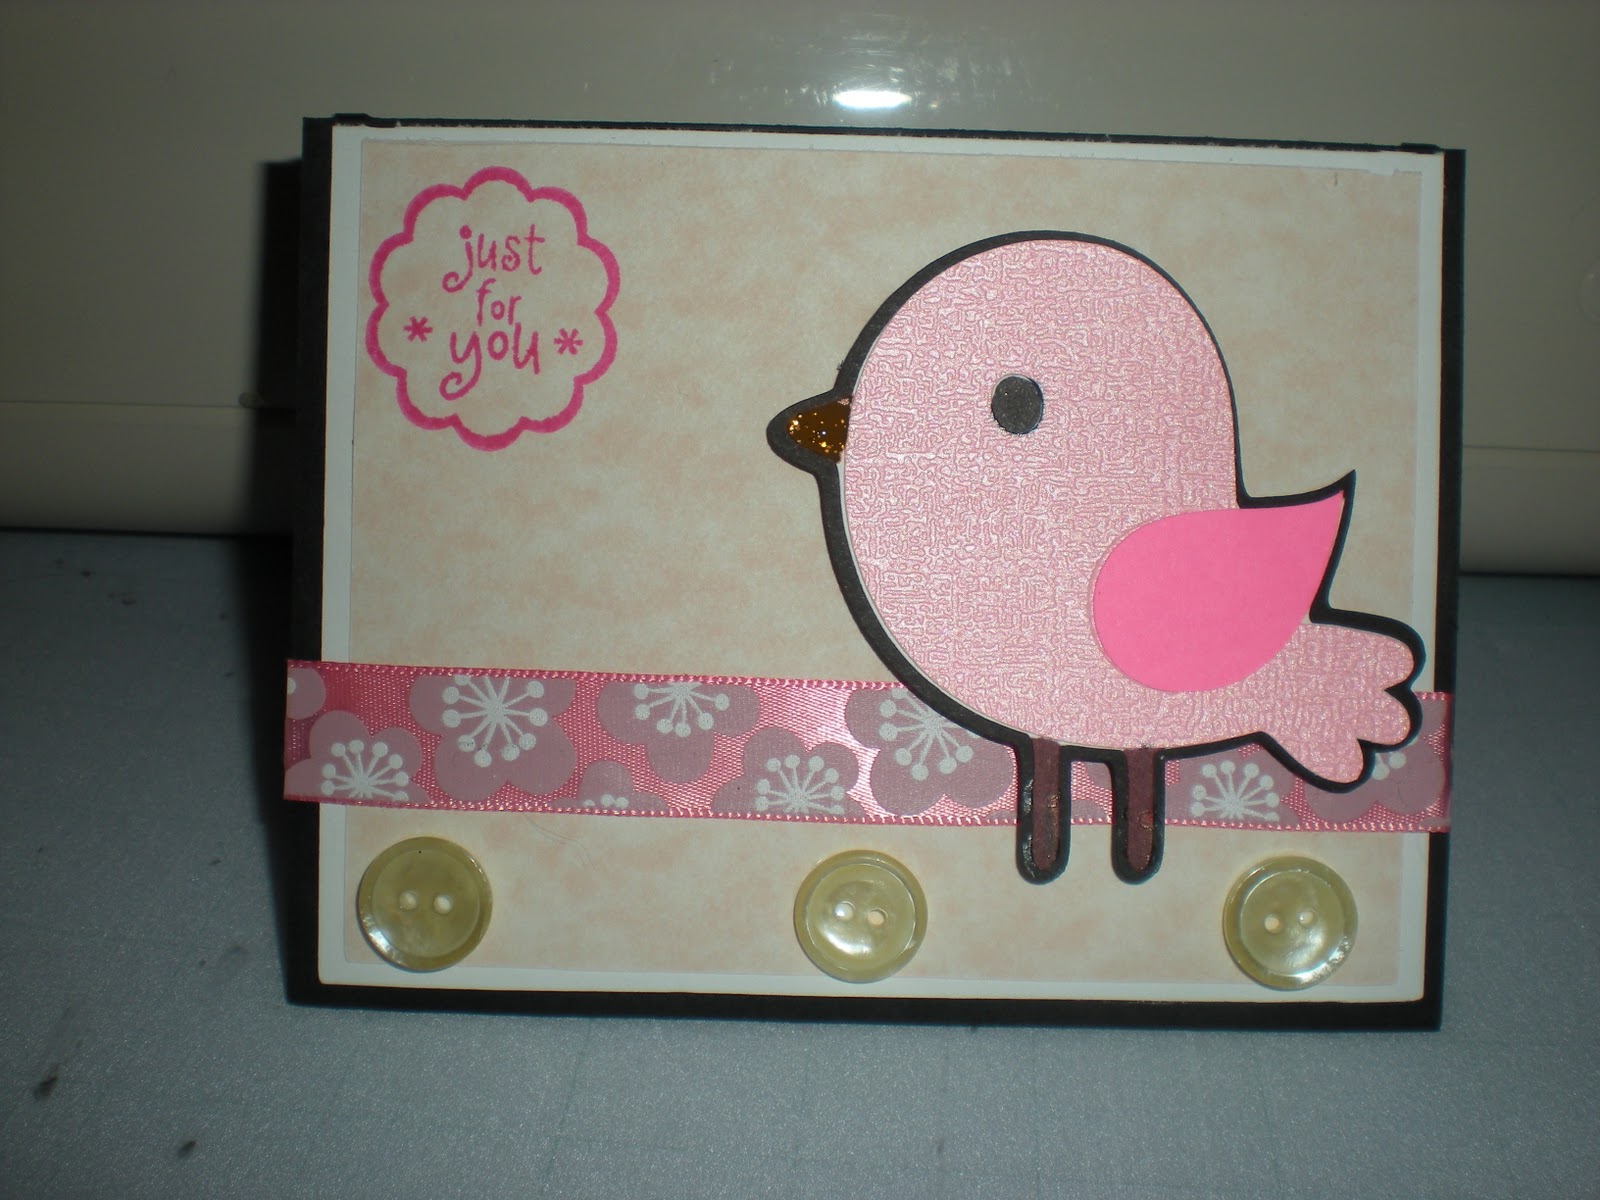
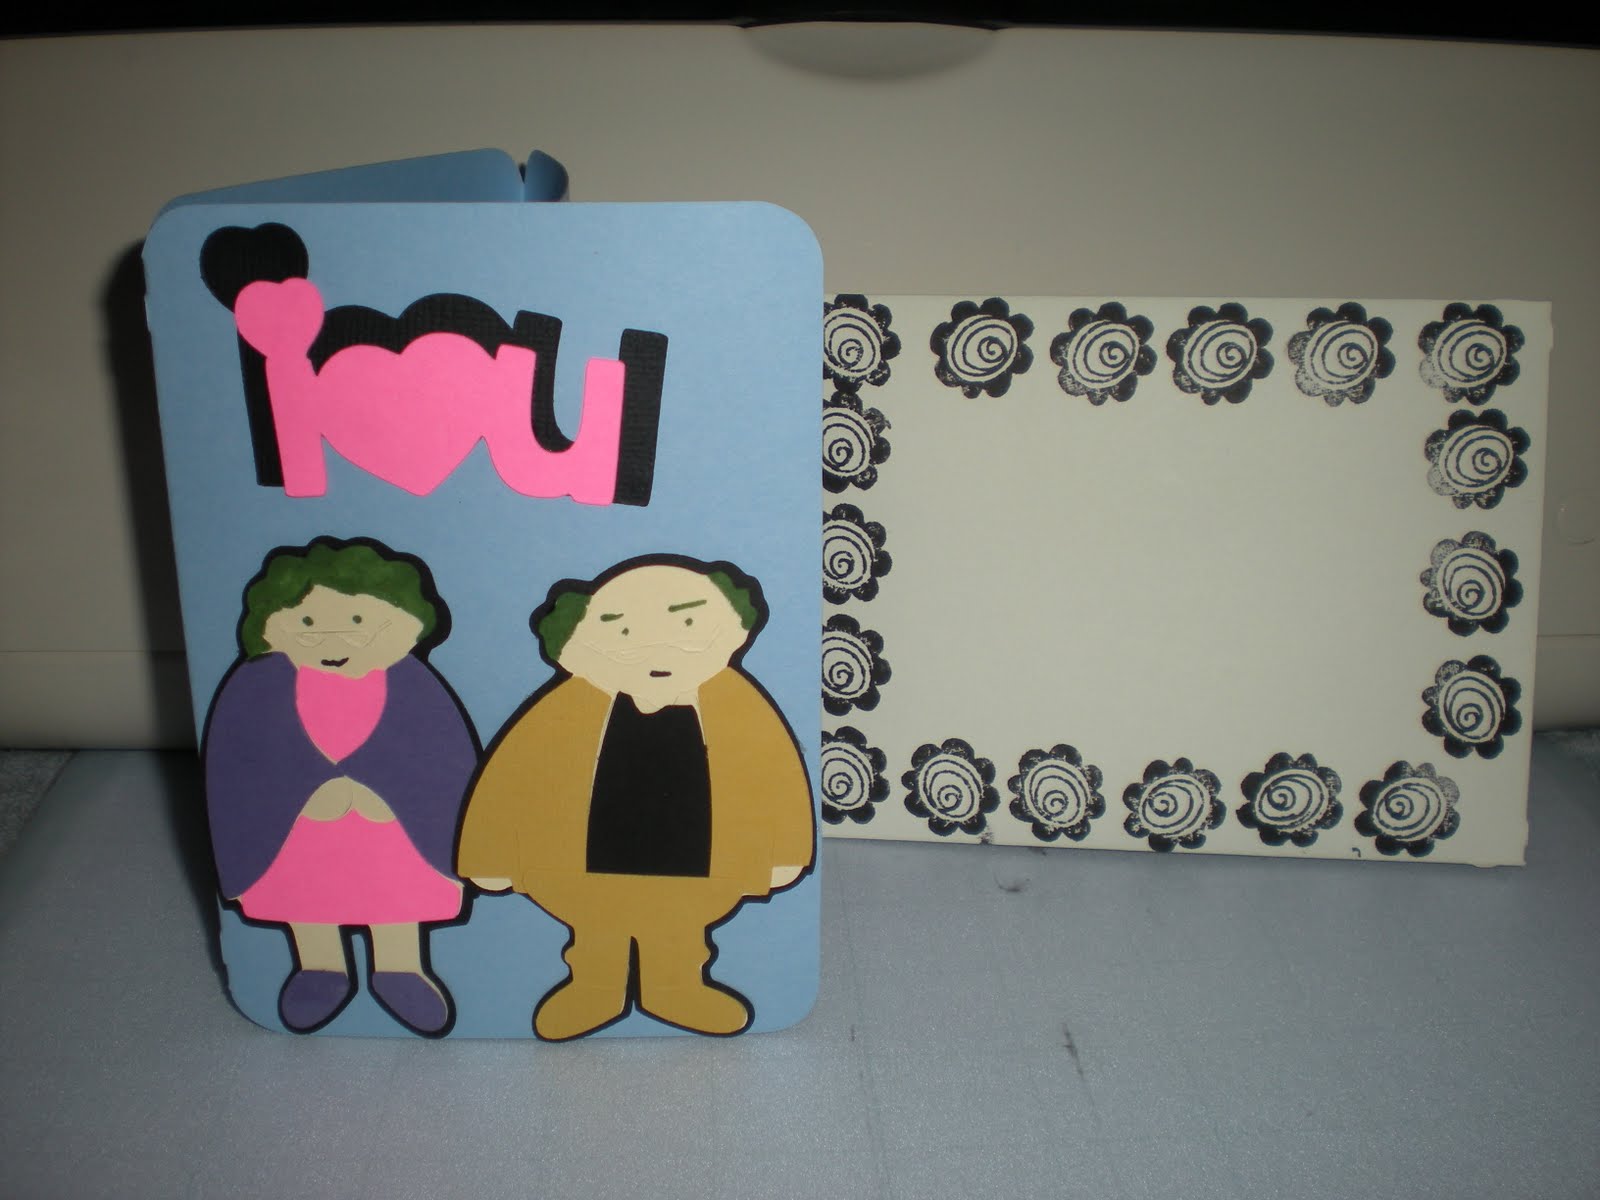
The first couple of pictures are cards that I made experimenting with color and texture. Of course the shapes were cut with the Cricut expression. I used the Walk in my Garden cartridge and another, but I don't remember which one. The last picture is something I made for a swap partner. This is going in a frame when it dries. The font is done with the Plantin Schoolbook cartridge. I really like the way that it came out! I find that my projects are looking much nicer as I am experimenting more.

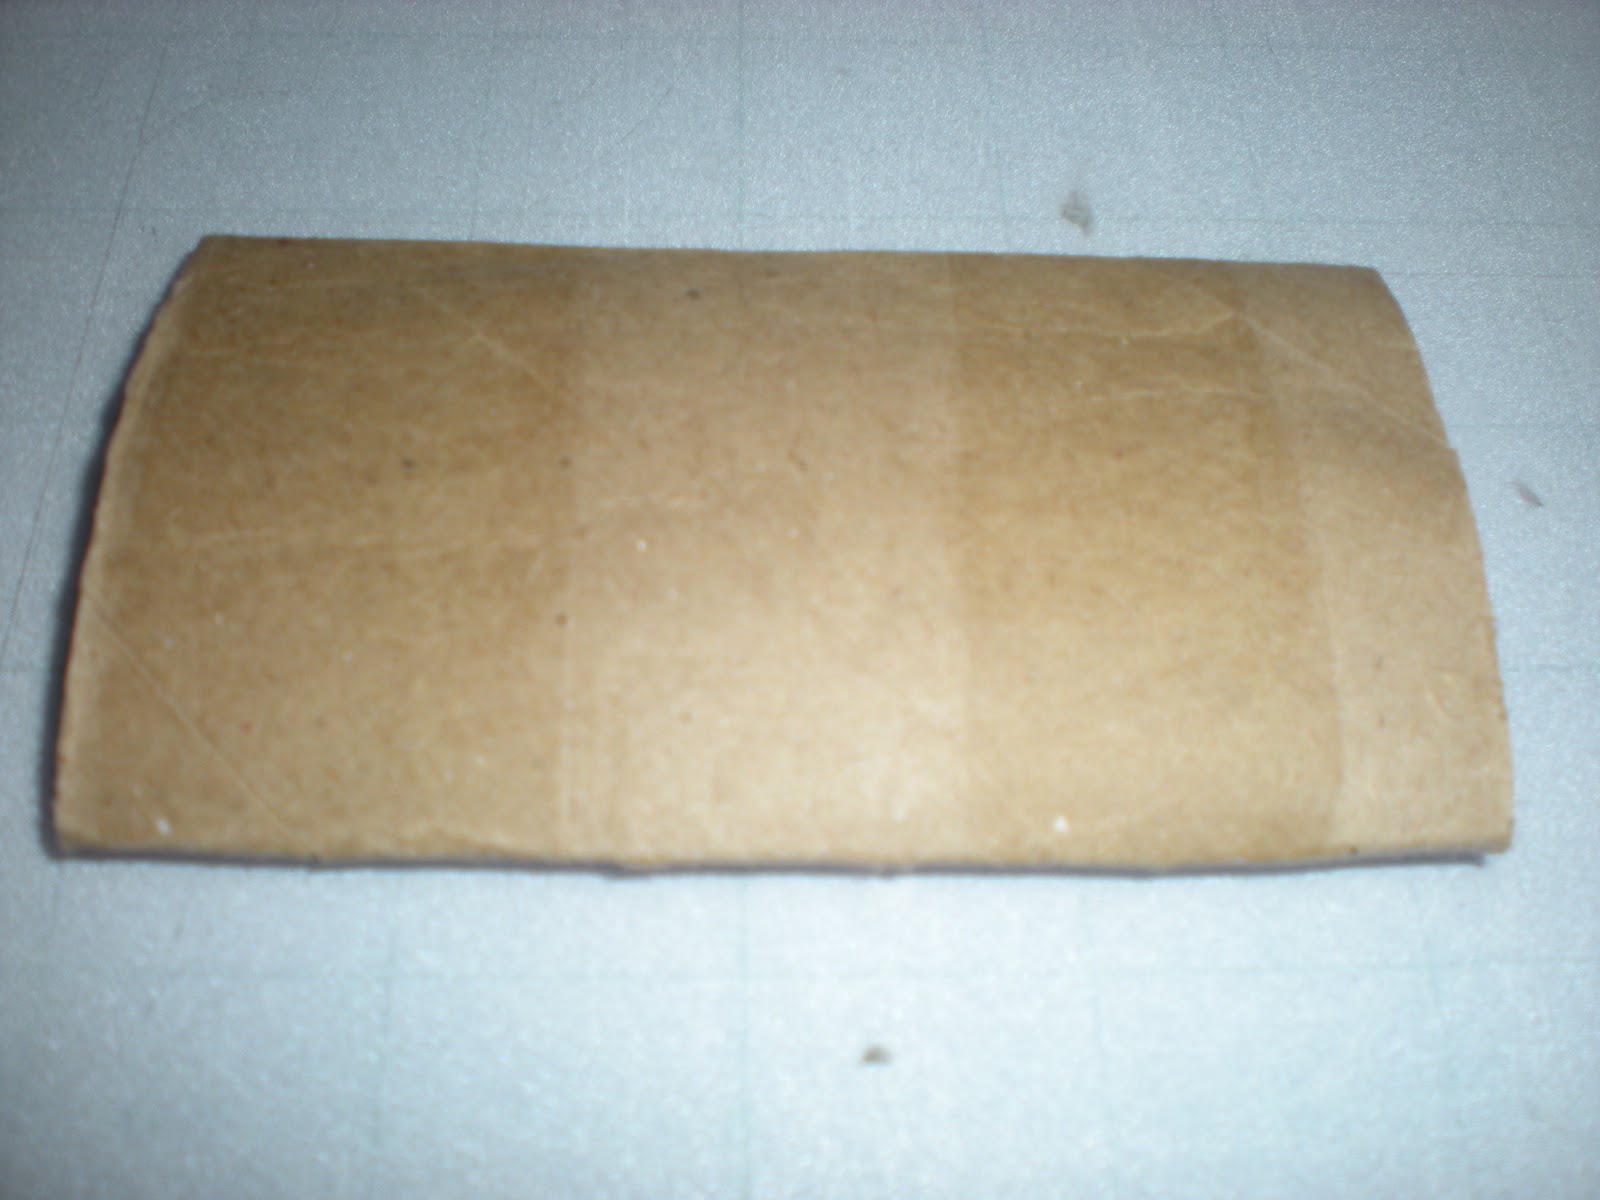
Now the last time I promised to demonstrate how to make a mini book using toilet paper rolls, but I deleted the pictures by accident. So I am going to have to make another and show you all at a later date.

Before I go, today was the first time in my life that I experienced an earthquake! New Jersey rarely has them. As a matter of fact, we didn't have one. It was in Virgina, but the shaking could be felt up and down the east coast. It was a weird feeling but thankfully it wasn't enough to do damage where I live. I just hope it doesn't happen again anytime soon!

Tuesday, August 16, 2011

Been Busy

I'm still experimenting with my new cricut expression. The possibilities are endless! I've made a couple more cards and a simple scrapbook page. Most of the images have come from either the Plantin Schoolbook Cartridge, Walk in My Garden cartridge or Creative Critters cartridge. I'm going to do more experimenting with layering and embelishments before I start to make mini books. Here's what I have been working on so far...


These projects are quite easy to finish. Patterned paper, cardstock, glue and scissors can do a lot (along with a cricut).

In my next post, I'm going to show you how to make mini books using toilet paper and paper towel rolls!

Friday, August 12, 2011

First handmade card

So since I started using my cricut expression, I've been experimenting with shapes, sizes and patterns. Today I decided that I would make card. The envelope, card, and flower shape all come from the Plantin Schoolbook Cartridge. While it is not the most perfect card, it's pretty good for my first one using the cricut. I used a dab of silver glitter glue for the center of the flower. The pink paper is some patterned paper I had on hand.
This card is the first of many to come!


Tuesday, August 9, 2011

New to Paper Crafts!

I'm a teacher and it's only natural that we are crafty (as least that's what I was told once). I crochet, knit, paint, and sing a little. I love to create new items with my hands as it feels as though I have made a true contribution to the world (other than educating my students, lol).

This week, I was introduced to a new craft: paper crafting. That can include making cards, scrapbooking, etc. I have been debating about buying a Cricut Expression for some time now (mostly because of the cost), but I decided to reward myself because I just graduated from Graduate school with a 3.97 GPA.


The expression came in the mail a couple days ago with 4 cartridges (Formal Occasions, Florals Embelished, Simply Charmed and Life's a Party). I have to tell you it was like Christmas day opening my box with all those extra goodies inside. I have been playing with and experimenting with shapes, sizes and layering since I've opened the box. I didn't know paper crafting could be so addictive, LOL!I've also purchased some additional cartridges at fantastic prices, some from www.ebay.com and some from www.cricutmachine.com. I've even completed a really easy baby mobile using the Simply Charmed cartridge.


I am really enjoying using my Cricut Expression! Next on my list to create are some birthday cards and a photo frame clock!

Stay tuned for more simple amd easy projects to complete for the classroom and home decor using the Cricut Expression! ♥