

Okay, let's go back for a minute. For anyone that is new to the paper crafting world, an ATG is an advanced tape glider. There are many brands on the market. Here are a few that are available.


I imagine some ATG's are better than others. However, I purchased the pink one by 3M because the proceeds go to the Susan G. Komen foundation. That is the one I am going to show you how to refill with ease! Now my ATG is already filled so I'm going to show you how to refill on top of the adhesive that is already inside!
Push gently on this button. This will raise the flap.

When it is opened it will look like this...

You are going to see two circular parts. One on the left & one on the right with a plastic dial.


The dial on the left is where the tape will be placed. The dial on the right is where the tape will wind.
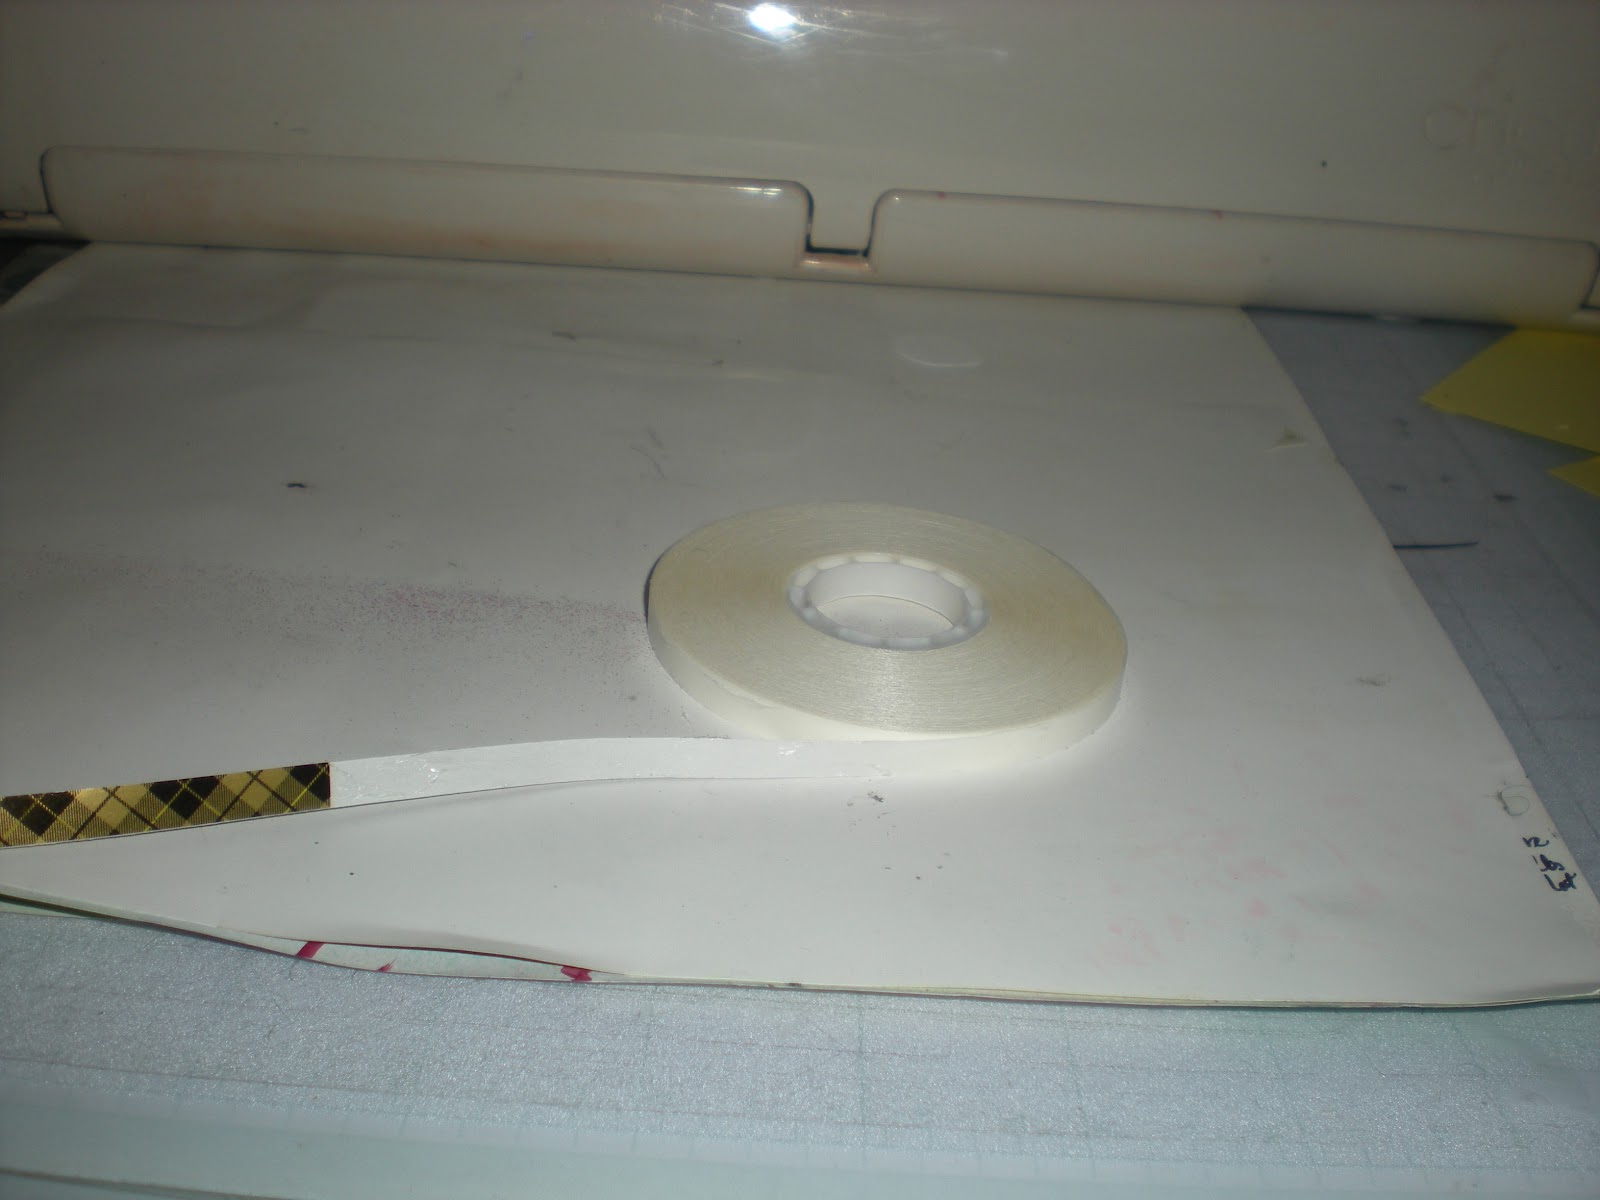
Now you have your tape. It will look like this...

Here is where people usually have a problem...putting the adhesive in correctly. If you don't put the adhesive in the right way, it won't come out at all and will leave a mess. So this is what I do when I am going to refill the ATG. I unroll it until it gets to the sticky part like this...
Then I hold it in between my forefinger and thumb. Now here is my trick. The sticky feel test, LOL! If you feel the adhesive on your forefinger, you have the tape upside down. Flip it over and try again. If you feel the adhesive on your thumb like in the picture below, then you have the tape facing the right way and you can put it on the left dial.

After you have placed the tape on the left dial, press down until you hear a little click. The tape that you have unwound gets wound around the orange roller like in the picture below.

You wrap the adhesive around in a "up the hill, down the hill" fashion (forgive me, but that is the Pre-K Teacher in me speaking, LOL). That means you put the tape on top of the first roller then bring it down and around the second roller. The excess will wrap over the tape itself and reach over to the second dial.

Wrap the tape around this dial. Snake the tape through the two slits and press the sticky end on the dial. That will keep the tape in place when it winds. It will look like this when it is wound correctly.

Close the flap and then you are ready to use your ATG! If you have any additional questions, or need more clarity, please feel free to leave a message and a way to get back to you!
Thanks for stopping by!
~Tiffany~


HI Tiffany, I have the same one I had to watch youtube video's like 100 times before I got it lol. Where do you buy your refills?
ReplyDeleteI ALWAYS put mine in the wrong way the first time around!! Will use the sticky feel test next time!! LOL
ReplyDeletexoxoxoxxo
Thanks so much Tiffany. I really appreciate the tutorial. I have been having a big challenge with mine. Gloria Shirr
ReplyDeleteVisit my blog - would love more members.
http://purpleglocreations.blogspot.com