
Welcome to My Big Fat Wedding Blog Hop. We are a group of a talented ladies who love paper crafting (well most of us) and will be show casing Our Amazing Creations along they way. If you are visiting from Jennifer http://cluelesscrafter-jennifer.blogspot.com/ then you are in the right place. If not, please go and start from the beginning at http://wwwpaperkraftsunlimiteddesings.blogspot.com
Blog Hop Giveaway is............ $10.00 Gift Card fom Ginger Snaps Scraps.
- Vanessa http://wwwpaperkraftsunlimiteddesings.blogspot.com/
- Tammy http://anonymouscricuter.blogspot.ca/
- Mary http://Mary-fortheloveofart.blogspot.com
- Jennifer http://cluelesscrafter-jennifer.blogspot.com/
- Tiffany http://angel4ever-thecraftyteacher.blogspot.com
Here is what I came up with:
Here is a little "flower girl" basket I made without even using my Cricut Expression. As much as I love my Expression, sometimes I just want to use some paper and make something quick! Well, it doesn't get any quicker than this!!!


I started out with a 12 x 12 piece of card stock and cut it down to 9 x 9. You will also need a one inch strip of contrasting paper for the handle.Score at three and six inches ----- but only score three inches down. Turn the paper 180 degrees and repeat.
Cut the score line. You are going to have what looks like flaps. Fold the flaps with a bone folder for a more crisp fold.
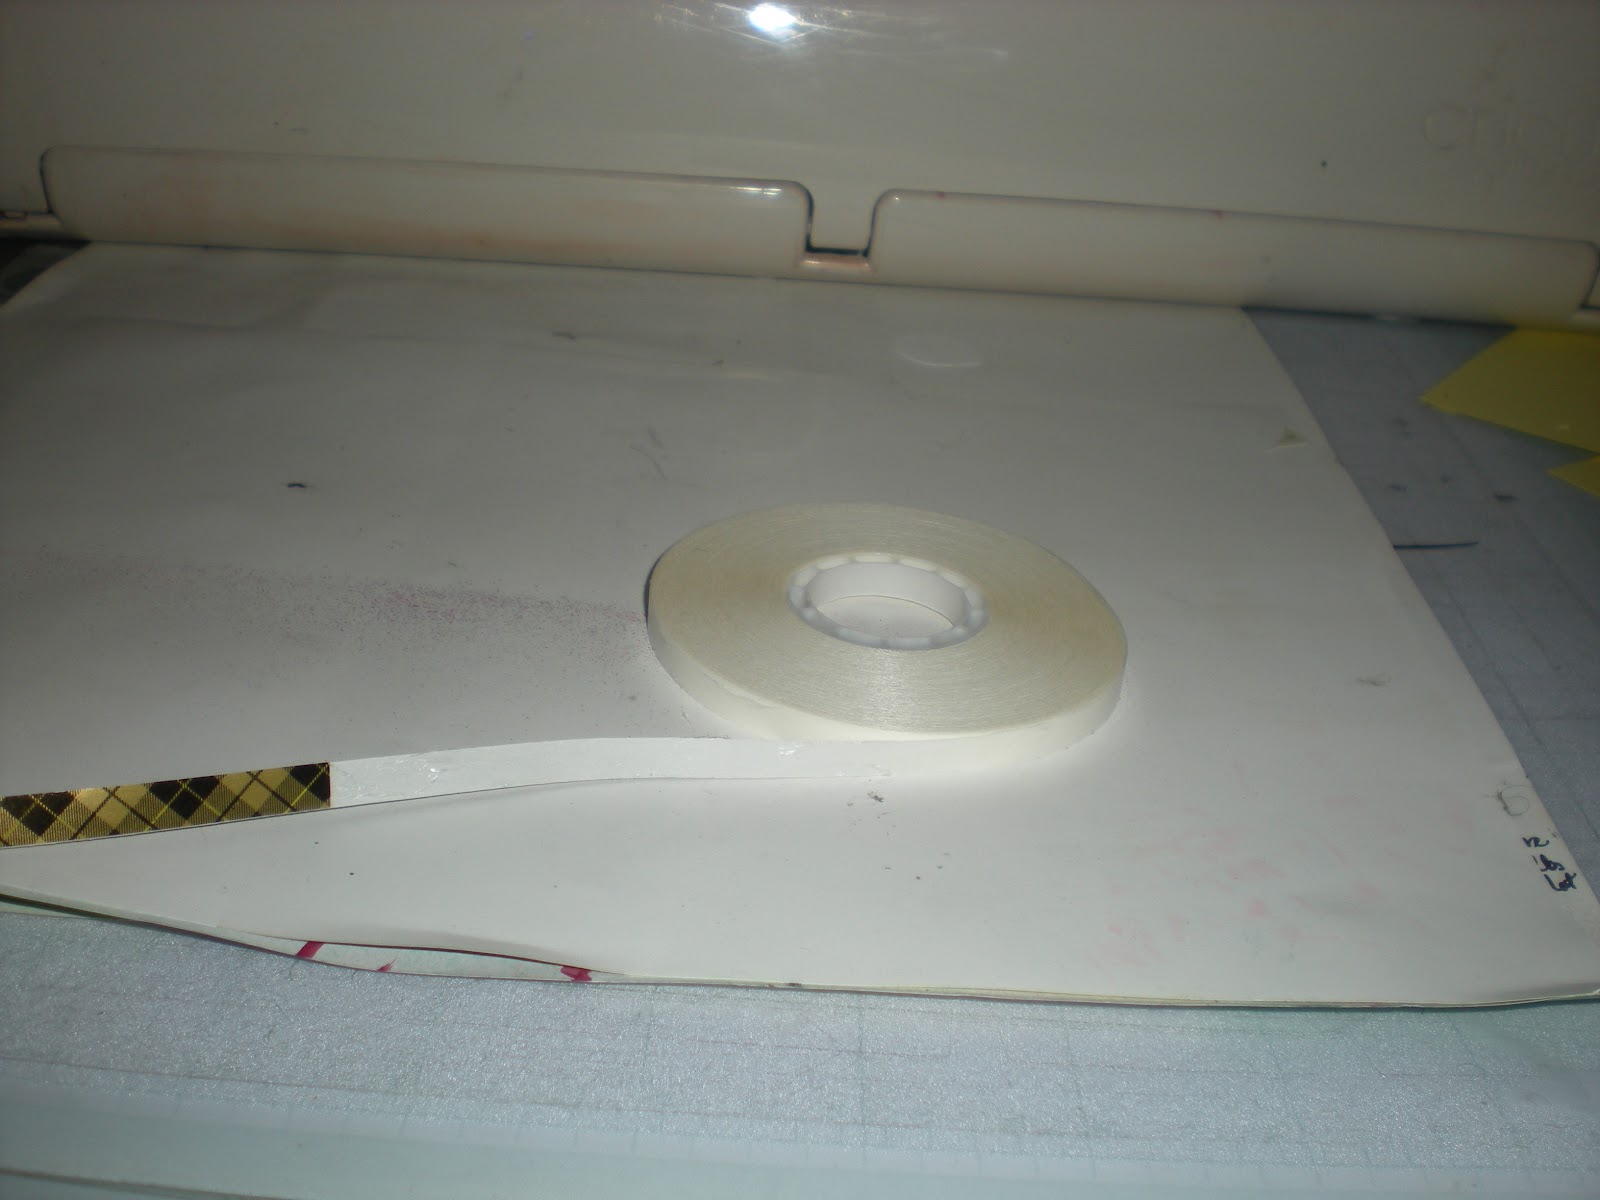
Using an ATG adhesive or a double sided tape, take two ends and bring them to one another with the third flap in the middle. The middle flap with fold up on the inside of the two flaps. Secure the end and then do the other side. Take the one inch strip and adhere it to the inside of the "basket". You can then embellish it. I used some pink ribbon and some flowers that I had in my stash. This little basket was sooo easy to make. It took less than 30 minutes from beginning to end!
The patterned paper came from Close to My Heart from the Sweetheart paper pack. If you want to purchase that paper or any of the other paper from CTMH, you can purchase it >>>>>HERE<<<<<
Since I am the last stop on the hop, I thought it would be nice to do a small giveaway! But it's a surprise!!! In order to be entered into the giveaway you must:
1. Become a follower of my blog!
2. Share the blog hop with on FB 3. Leave a comment stating you shared this!
Winners will be selected on Friday May 25th using Random Number generator.
I hope that I have inspired you yo become more crafty!!!
Using an ATG adhesive or a double sided tape, take two ends and bring them to one another with the third flap in the middle. The middle flap with fold up on the inside of the two flaps. Secure the end and then do the other side. Take the one inch strip and adhere it to the inside of the "basket". You can then embellish it. I used some pink ribbon and some flowers that I had in my stash. This little basket was sooo easy to make. It took less than 30 minutes from beginning to end!
The patterned paper came from Close to My Heart from the Sweetheart paper pack. If you want to purchase that paper or any of the other paper from CTMH, you can purchase it >>>>>HERE<<<<<
Since I am the last stop on the hop, I thought it would be nice to do a small giveaway! But it's a surprise!!! In order to be entered into the giveaway you must:
1. Become a follower of my blog!
2. Share the blog hop with on FB 3. Leave a comment stating you shared this!
Winners will be selected on Friday May 25th using Random Number generator.
I hope that I have inspired you yo become more crafty!!!
~Tiffany~