Home ♥ ♥ Facebook
Showing posts with label tutorial. Show all posts

Monday, May 28, 2012

Design team call for May Arts Ribbon


Hi everyone!!! Today this post is to announce my submission for the May Arts Ribbon Design Team. I'm really excited about this!!! I love using embellishments, especially ribbon in my projects and I think this design team is going to be a great fit for me!
These are my three submissions for the design team.


Submission 1 - Graduation Banner


Here is a graduation banner I made using the Art Philosophy cartridge from Close to My Heart. I used ribbon to affix the letters together. 


Submission 2 - Altered Birdhouse 


This was an unfinished wooden birdhouse. I painted the base purple and adhered card stock to the roof using mod podge. I wrapped a black ribbon around the base and I tied a ribbon with a flower on the top. 


Submission 3--- TP Roll Mini Album - FOR MY TUTORIAL go here- TP Roll Tutorial

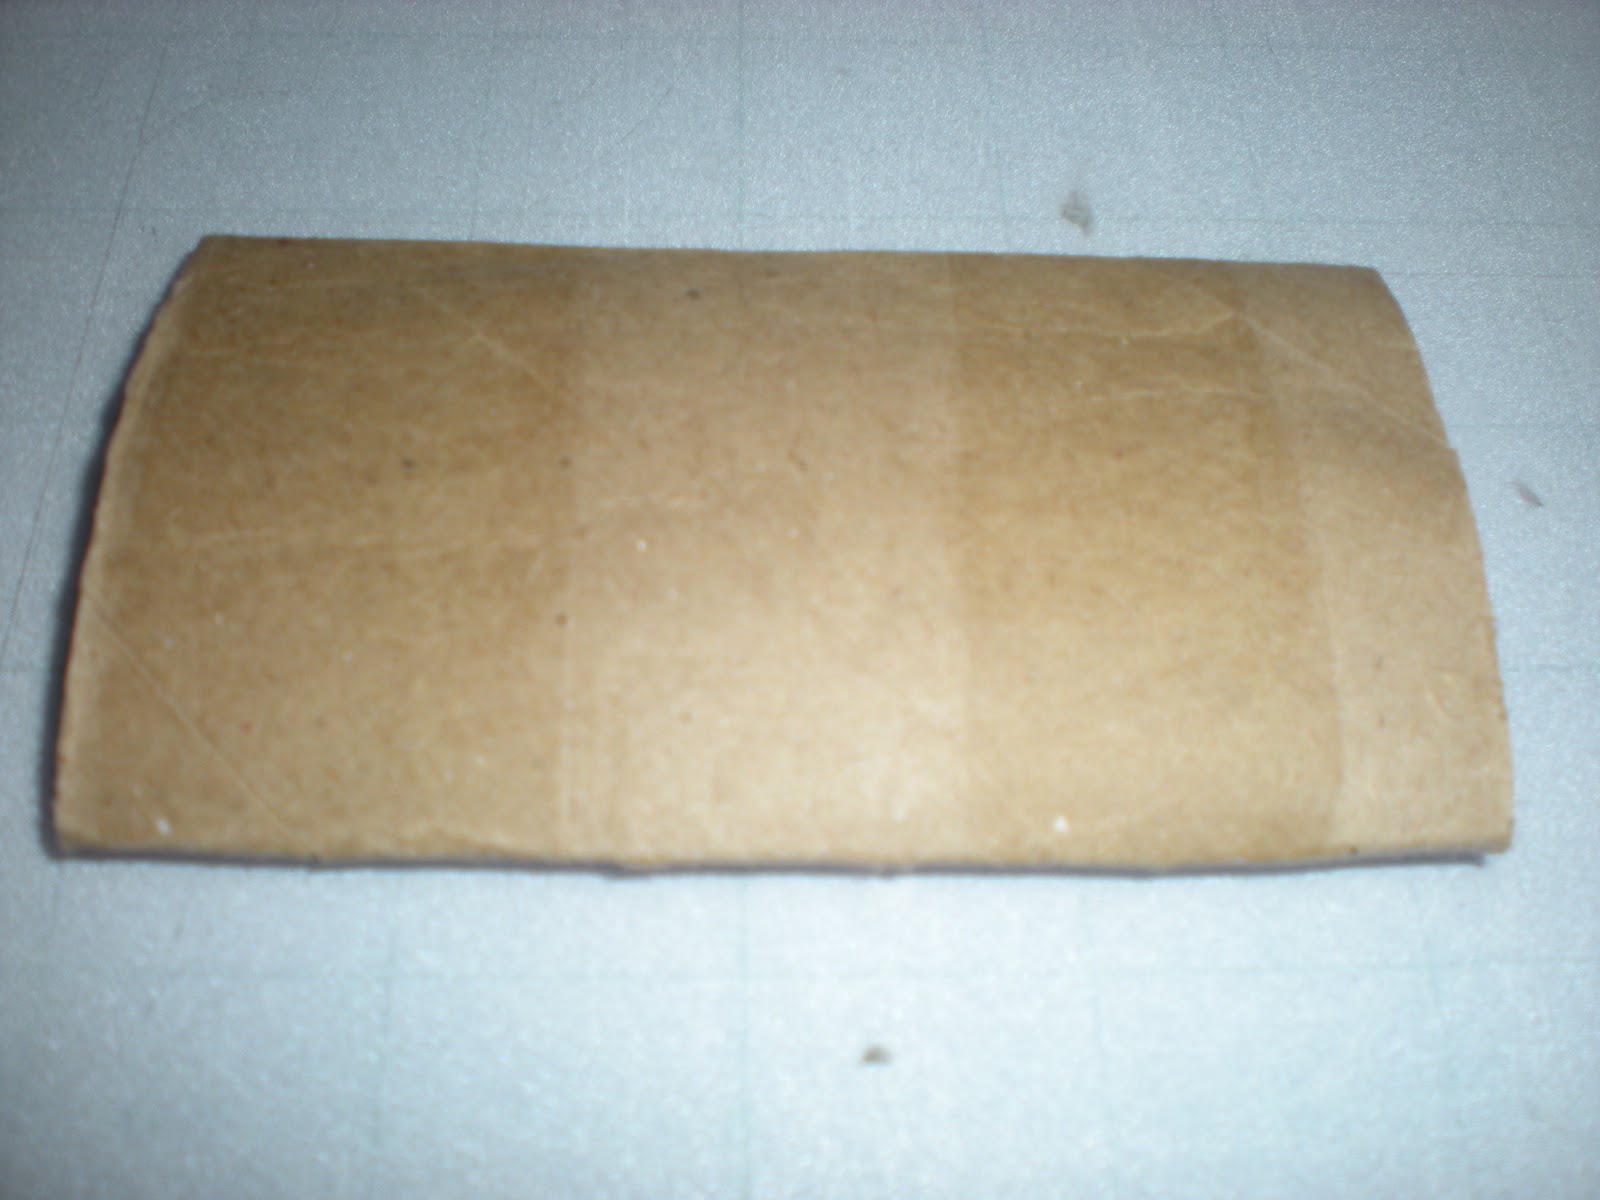
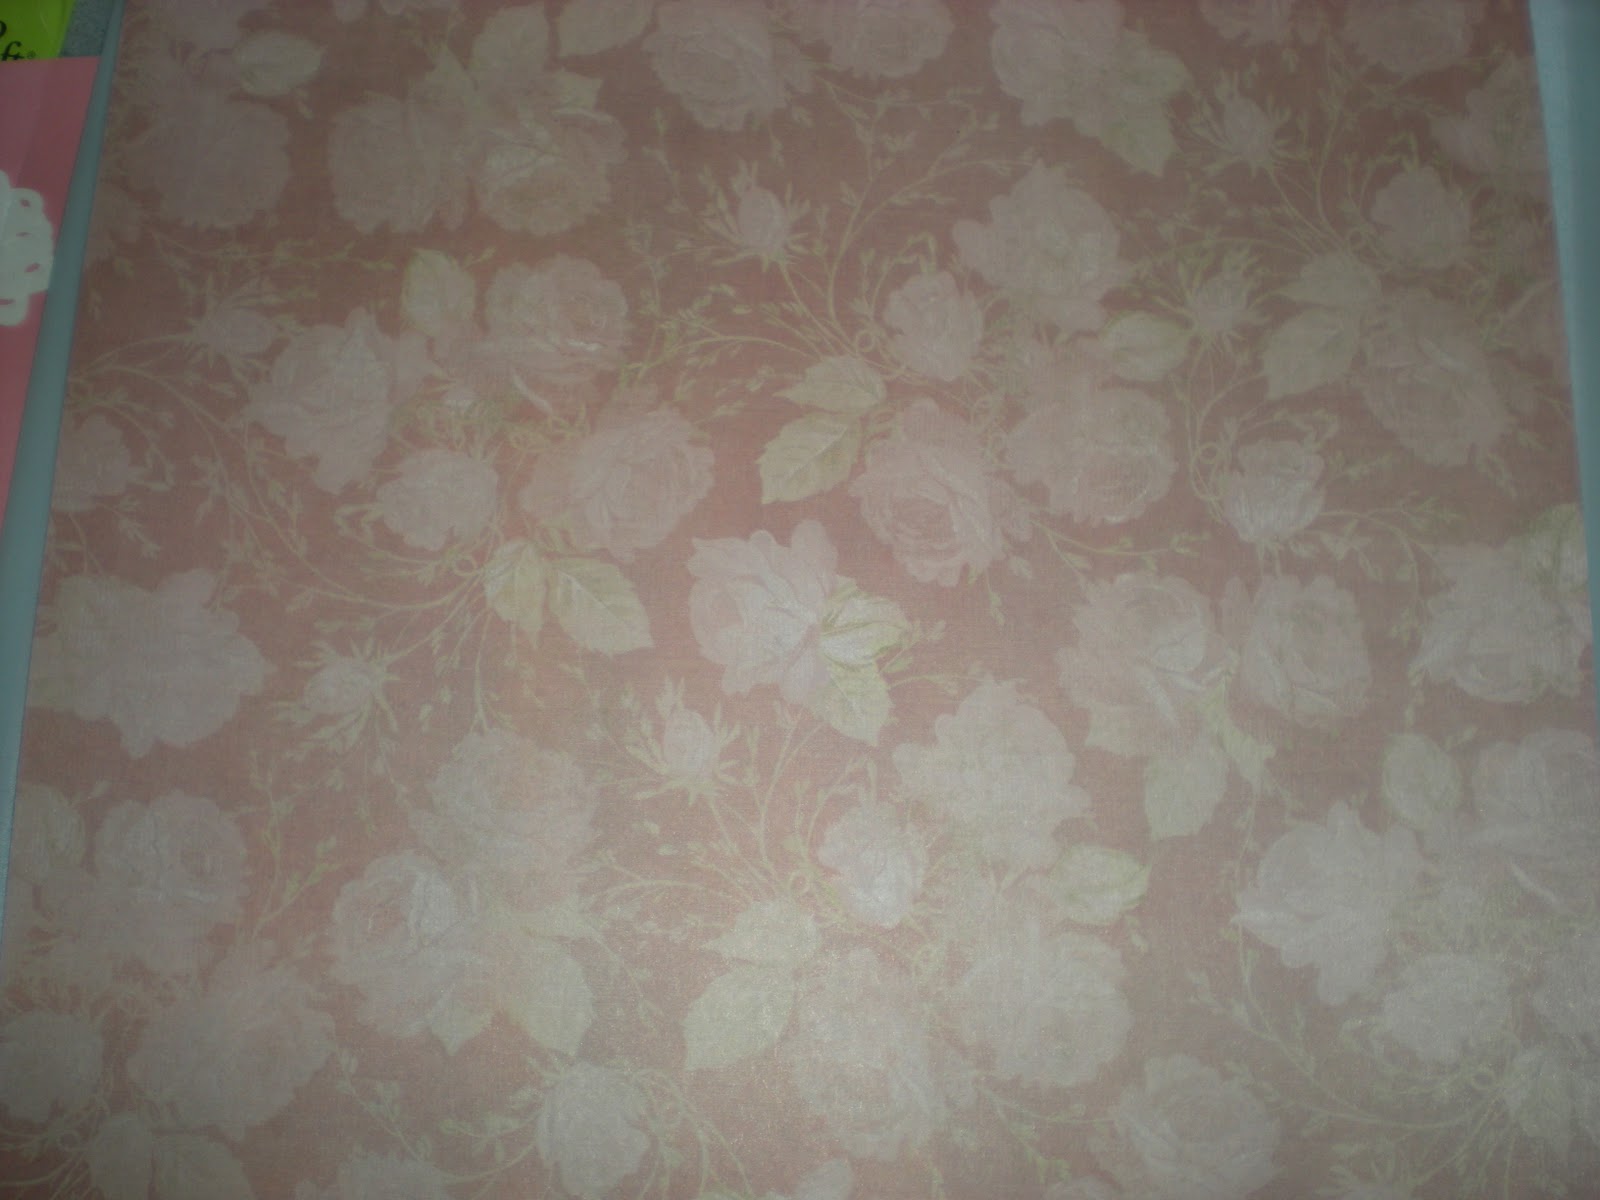
I had a lot of fun making this. As a teacher, I am always thinking of ways to use materials in different ways. This is the latest album I have created using tp rolls and ribbon. I threaded ribbon through the holes I punched to "bind" the book together. I also used ribbon to pull the tags out of the little "pockets". 


If you wish to learn how to make one of these, please see my tutorial by clicking this link...TP Roll Tutorial.


Thank you so much for stopping by! I am very excited about the possibility of joining this team and I'm looking forward to the challenge of incorporating ribbon more often in my projects!


~Tiffany~ 

Tuesday, November 15, 2011

Mini TP Roll Tutorial


Hi all,


I've had a couple requests for a tutorial on how to make a mini album using recycled toilet paper rolls. Being a teacher, I tend to have lots of these rolls available to use in my classroom for the kids to use in the art area. But one day someone gave me the idea to use the tp rolls as books and I have been doing it ever since!


Okay so to start you need tp rolls. I use five when making a mini album. First, flatten the rolls. Get them as flat as you possibly can. I put a few in between my husband's weights. 
4 x 2 1/4
Most tp rolls are 4 x 2 1/4 when flattened. However there are some that are slightly larger. So measure it when it's flat so you know how large to cut your paper to put onto it. Do not cut the tp roll. You are going to use it as a pocket to hold your tags. :)


Next, take a 12 x 12 piece of paper and score it slightly more than  the size of the roll because you want to wrap the paper around the roll. Score So if the roll is 4 inches by 2 1/4 inches, score the paper at 4 1/4 by 2 1/2 inches. 


Use an ATG to adhere the paper to the roll. Cut off any excess paper. Then using your Big Bite, punch a hole in one end. 


I like to use eyelets so when I thread the ribbon through, the pages will be held together nicer. I use the 3/16 eyelets. Again, use your Big Bite to set the eyelet. 


Finally, make a tag that is approximately 3 3/4 X 2. These measurements are approximate because it depends upon the size of the tp roll that is used when flattened. You will actually make the tags just slightly longer but do NOT make the tag 4 x 2 1/4 because the tag will not be able to slide in and out as you need it. Punch a hole in one end of the tag and thread some ribbon through. 


Then add embellishments (e.g. ribbon, ink), journal notes and mini photos. This is a great to give as a gift especially with the holidays rolling around. 

That is the end of my tutorial! If there is anything that is unclear, please let me know and I will do my best to clarify the instructions.

Good luck and Happy Crafting! ♥